With Thanksgiving behind us, the holidays are officially here. I like to wait to decorate for Christmas until after Thanksgiving because I truly love Fall so much. But, thanks to Mother Nature it actually SNOWED in Austin last night. Snowy Christmases are what my dreams are made of, and I was like a little kid dancing in the drive way. I don't think there was a better way to kick off the start of this festive season.
I've been browsing all the online sales for Christmas decor - even though the best time to buy is after the season ends, of course!
These prices are crazy! Call me frugal, call me cheap. I just have such a hard time spending money on decorations. Partly because I have commitment issues when it comes to interior design. Especially outside of seasonal decor.
diy-ing my own holiday wreath seemed like the best option - because i could customize the look i wanted.
So, one Sunday afternoon I went to it. I was so impressed with the outcome I wanted to share it with all of you. A few of the items were purchased previously and not necessarily for this purpose intially, but I'll try to include the estimated cost from my memory. I really wanted this to be an affordable DIY because I think we've all spotted something on Etsy and hundreds of dollars worth of craft supplies later, it probably would've been better to just make the Etsy purchase. HAHA!

WHAT YOU'LL NEED:

- Flocked boxwood garland (not pictured above) - I scored two flocked garlands. I spent $6. Thank you, Target dollar section. I wasn't really sure what I wanted to do with these when I bought them, but I'm so glad I picked them up now.
- Rose gold fairy lights (not pictured above) - I think I got these on a Lightning Deal from Amazon Prime for $9.
- Twigs - Free from the great outdoors.
- Jute twine - You can get this at any craft store dollar bin. It's just naturally colored twine.
- Hot glue gun + glue sticks - You may already have this. Don't hate - my glue gun is from the 5th grade. We've been through a lot together !


DIRECTIONS
I have some progression photos in the slider above - but if you have any questions, feel free to DM me on social media or comment below.
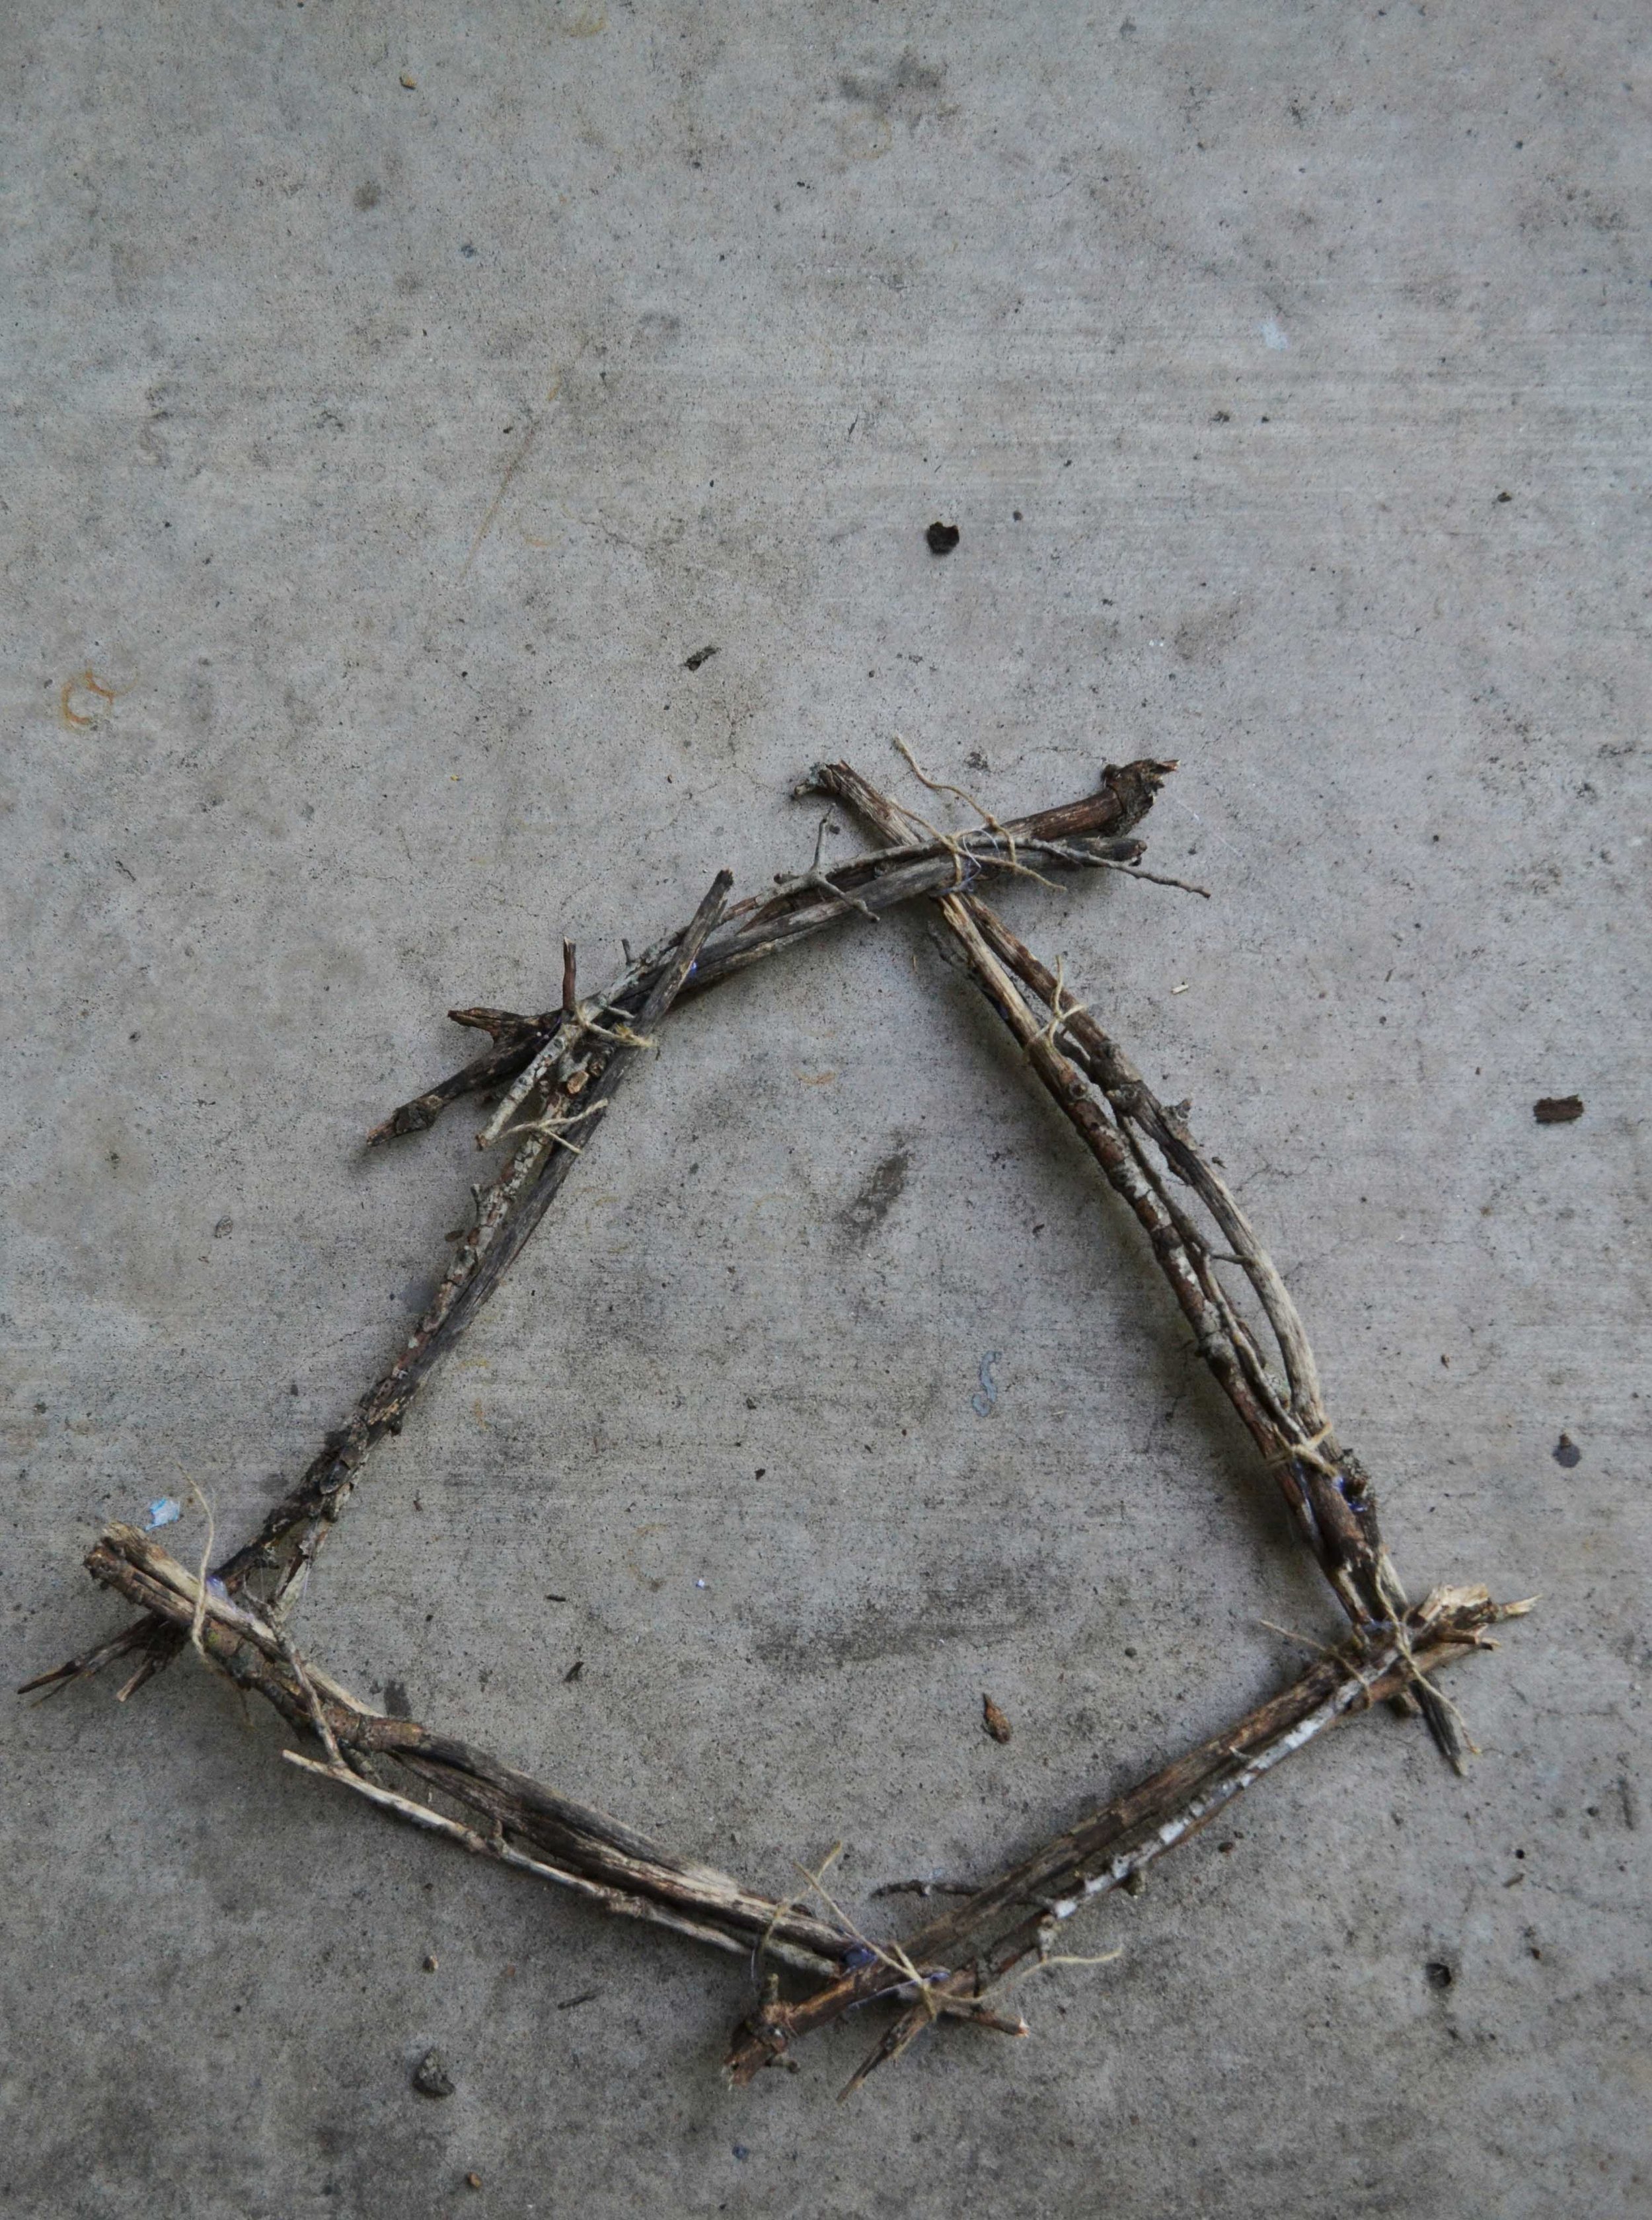
- Gather some twigs from your front yard. The twigs should be skinny and a little flexible.
- Group twigs into small bundles of 4-5 and tie the ends with jute twine.
- Lay the bundles in the desired shape. If you used flexy twigs it makes it easier to get a more rounded wreath. However, I like that mine came out a bit uneven and not perfectly round.
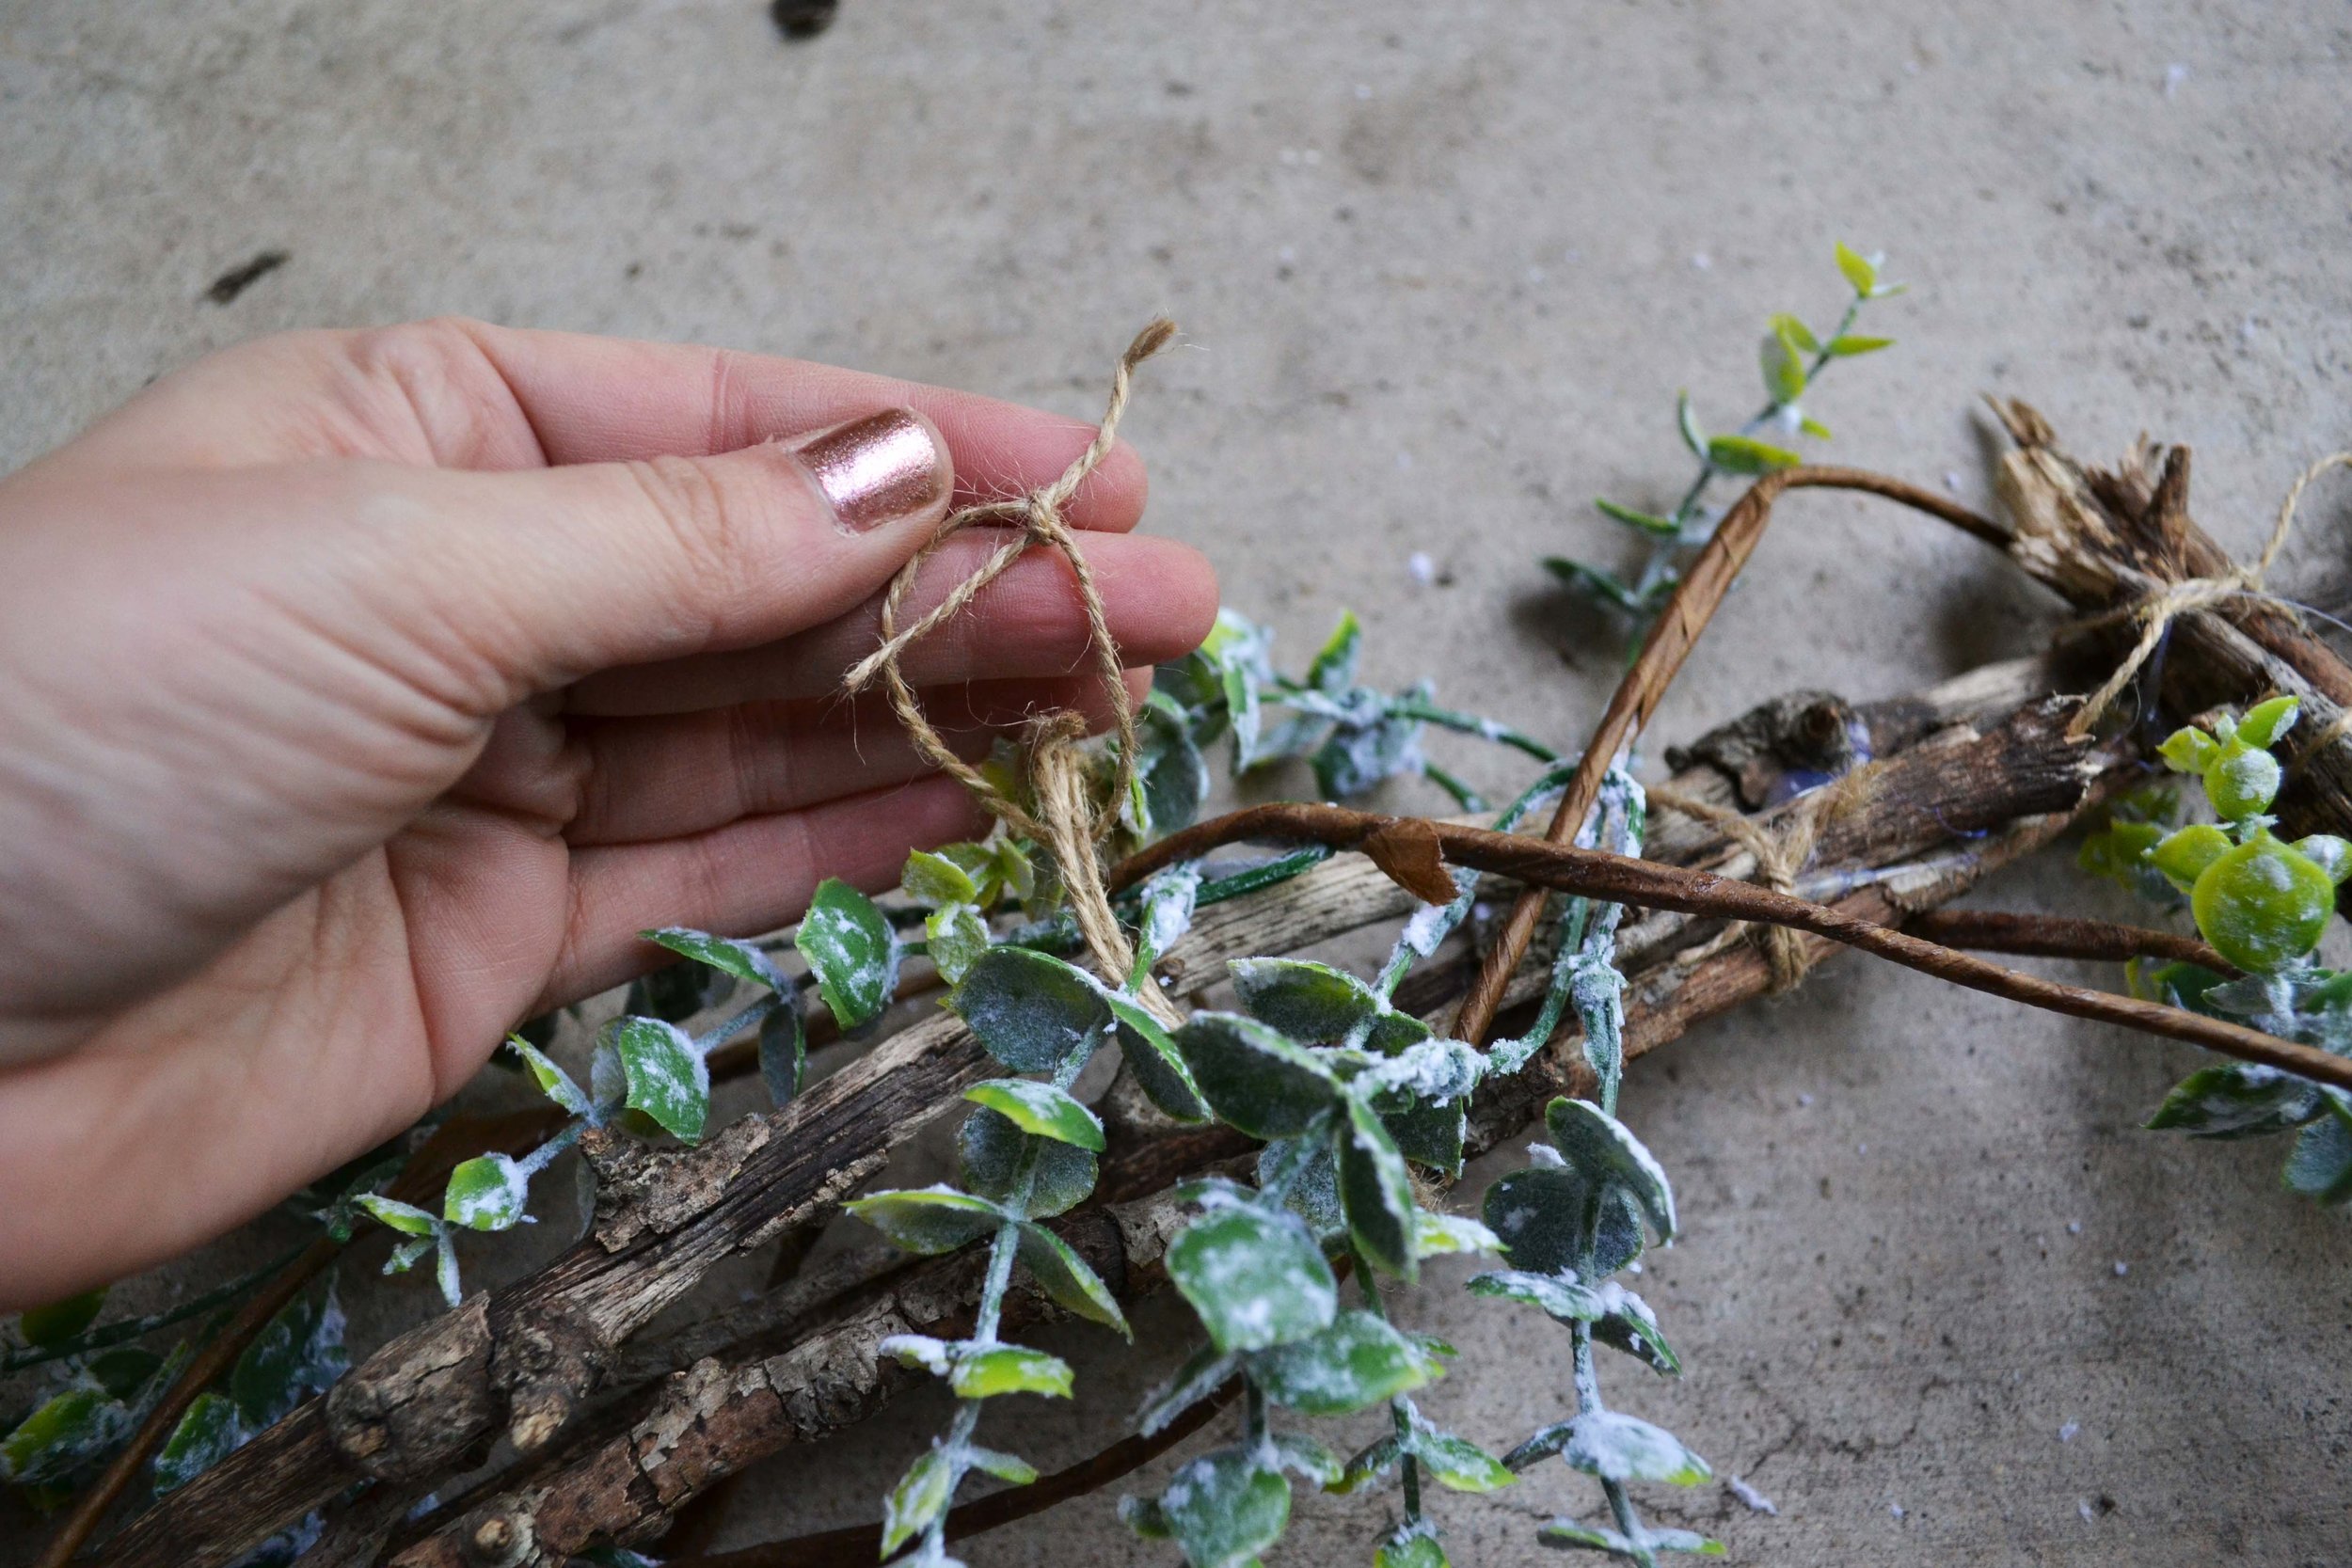
- Next, bind the bundles together with more jute twine and hot glue to secure the shape.
- Add a loop of jute twine around the top of the wreath, so that it's easy to hang from your door or a hook.
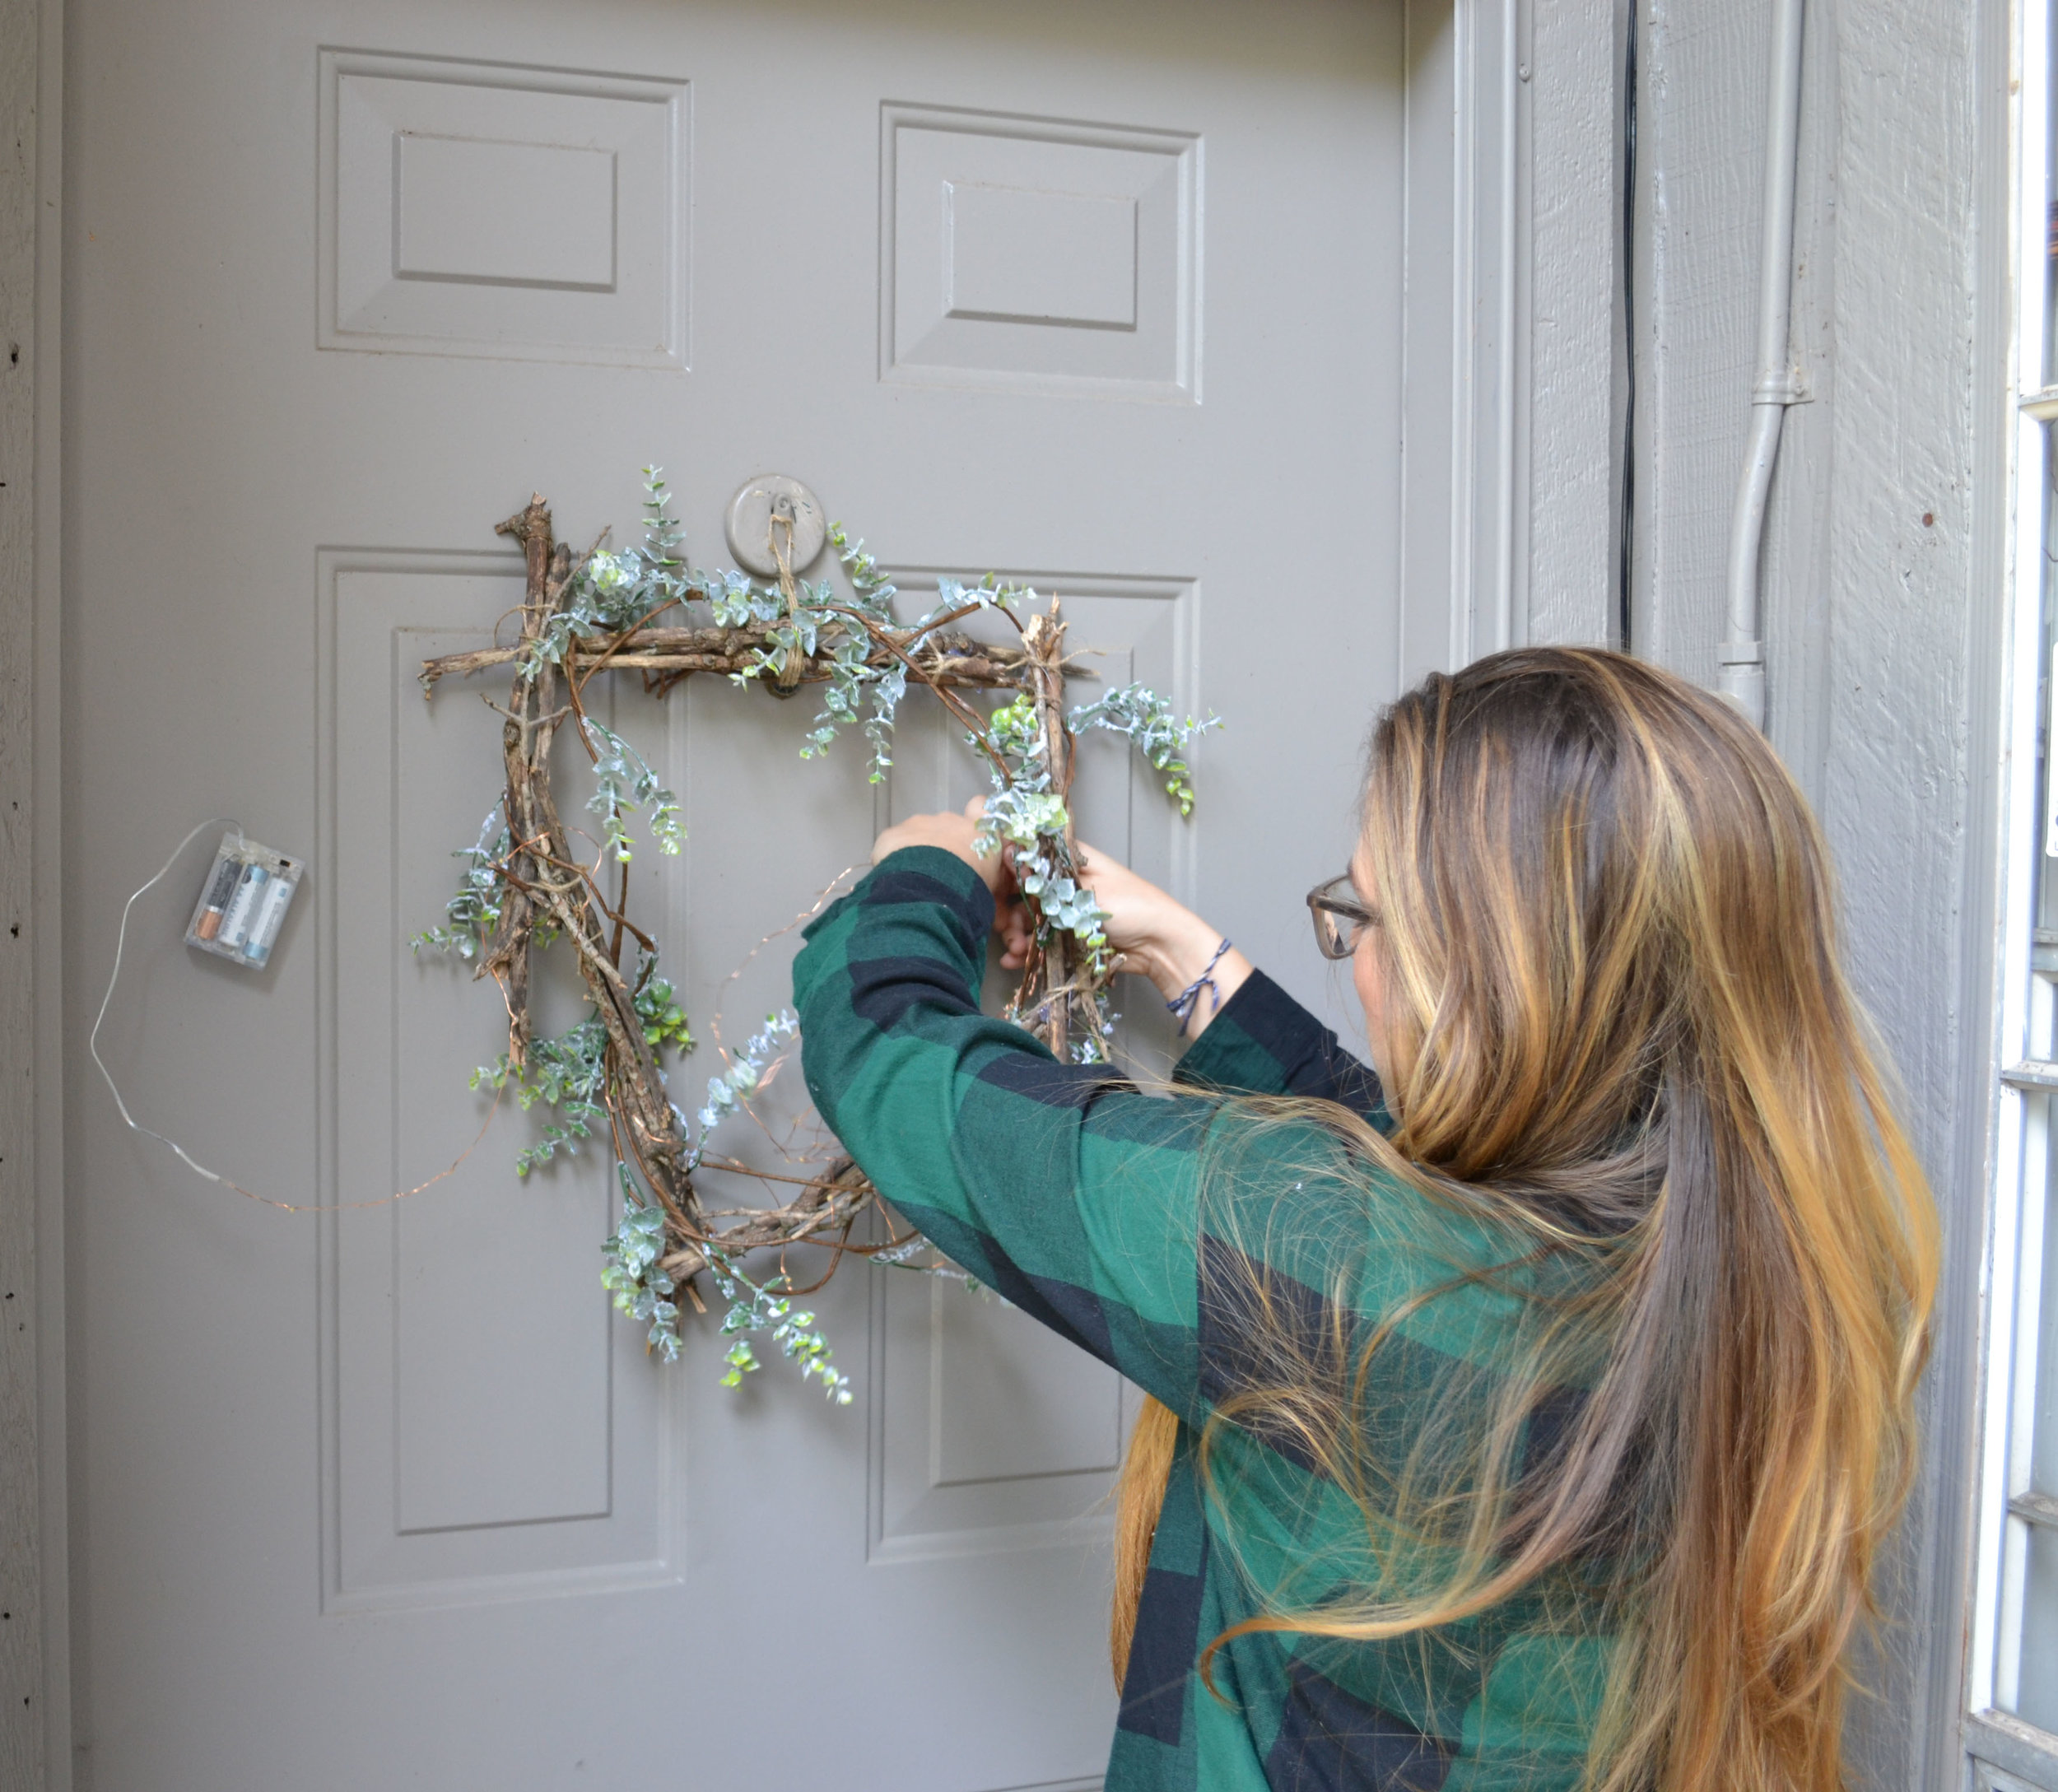
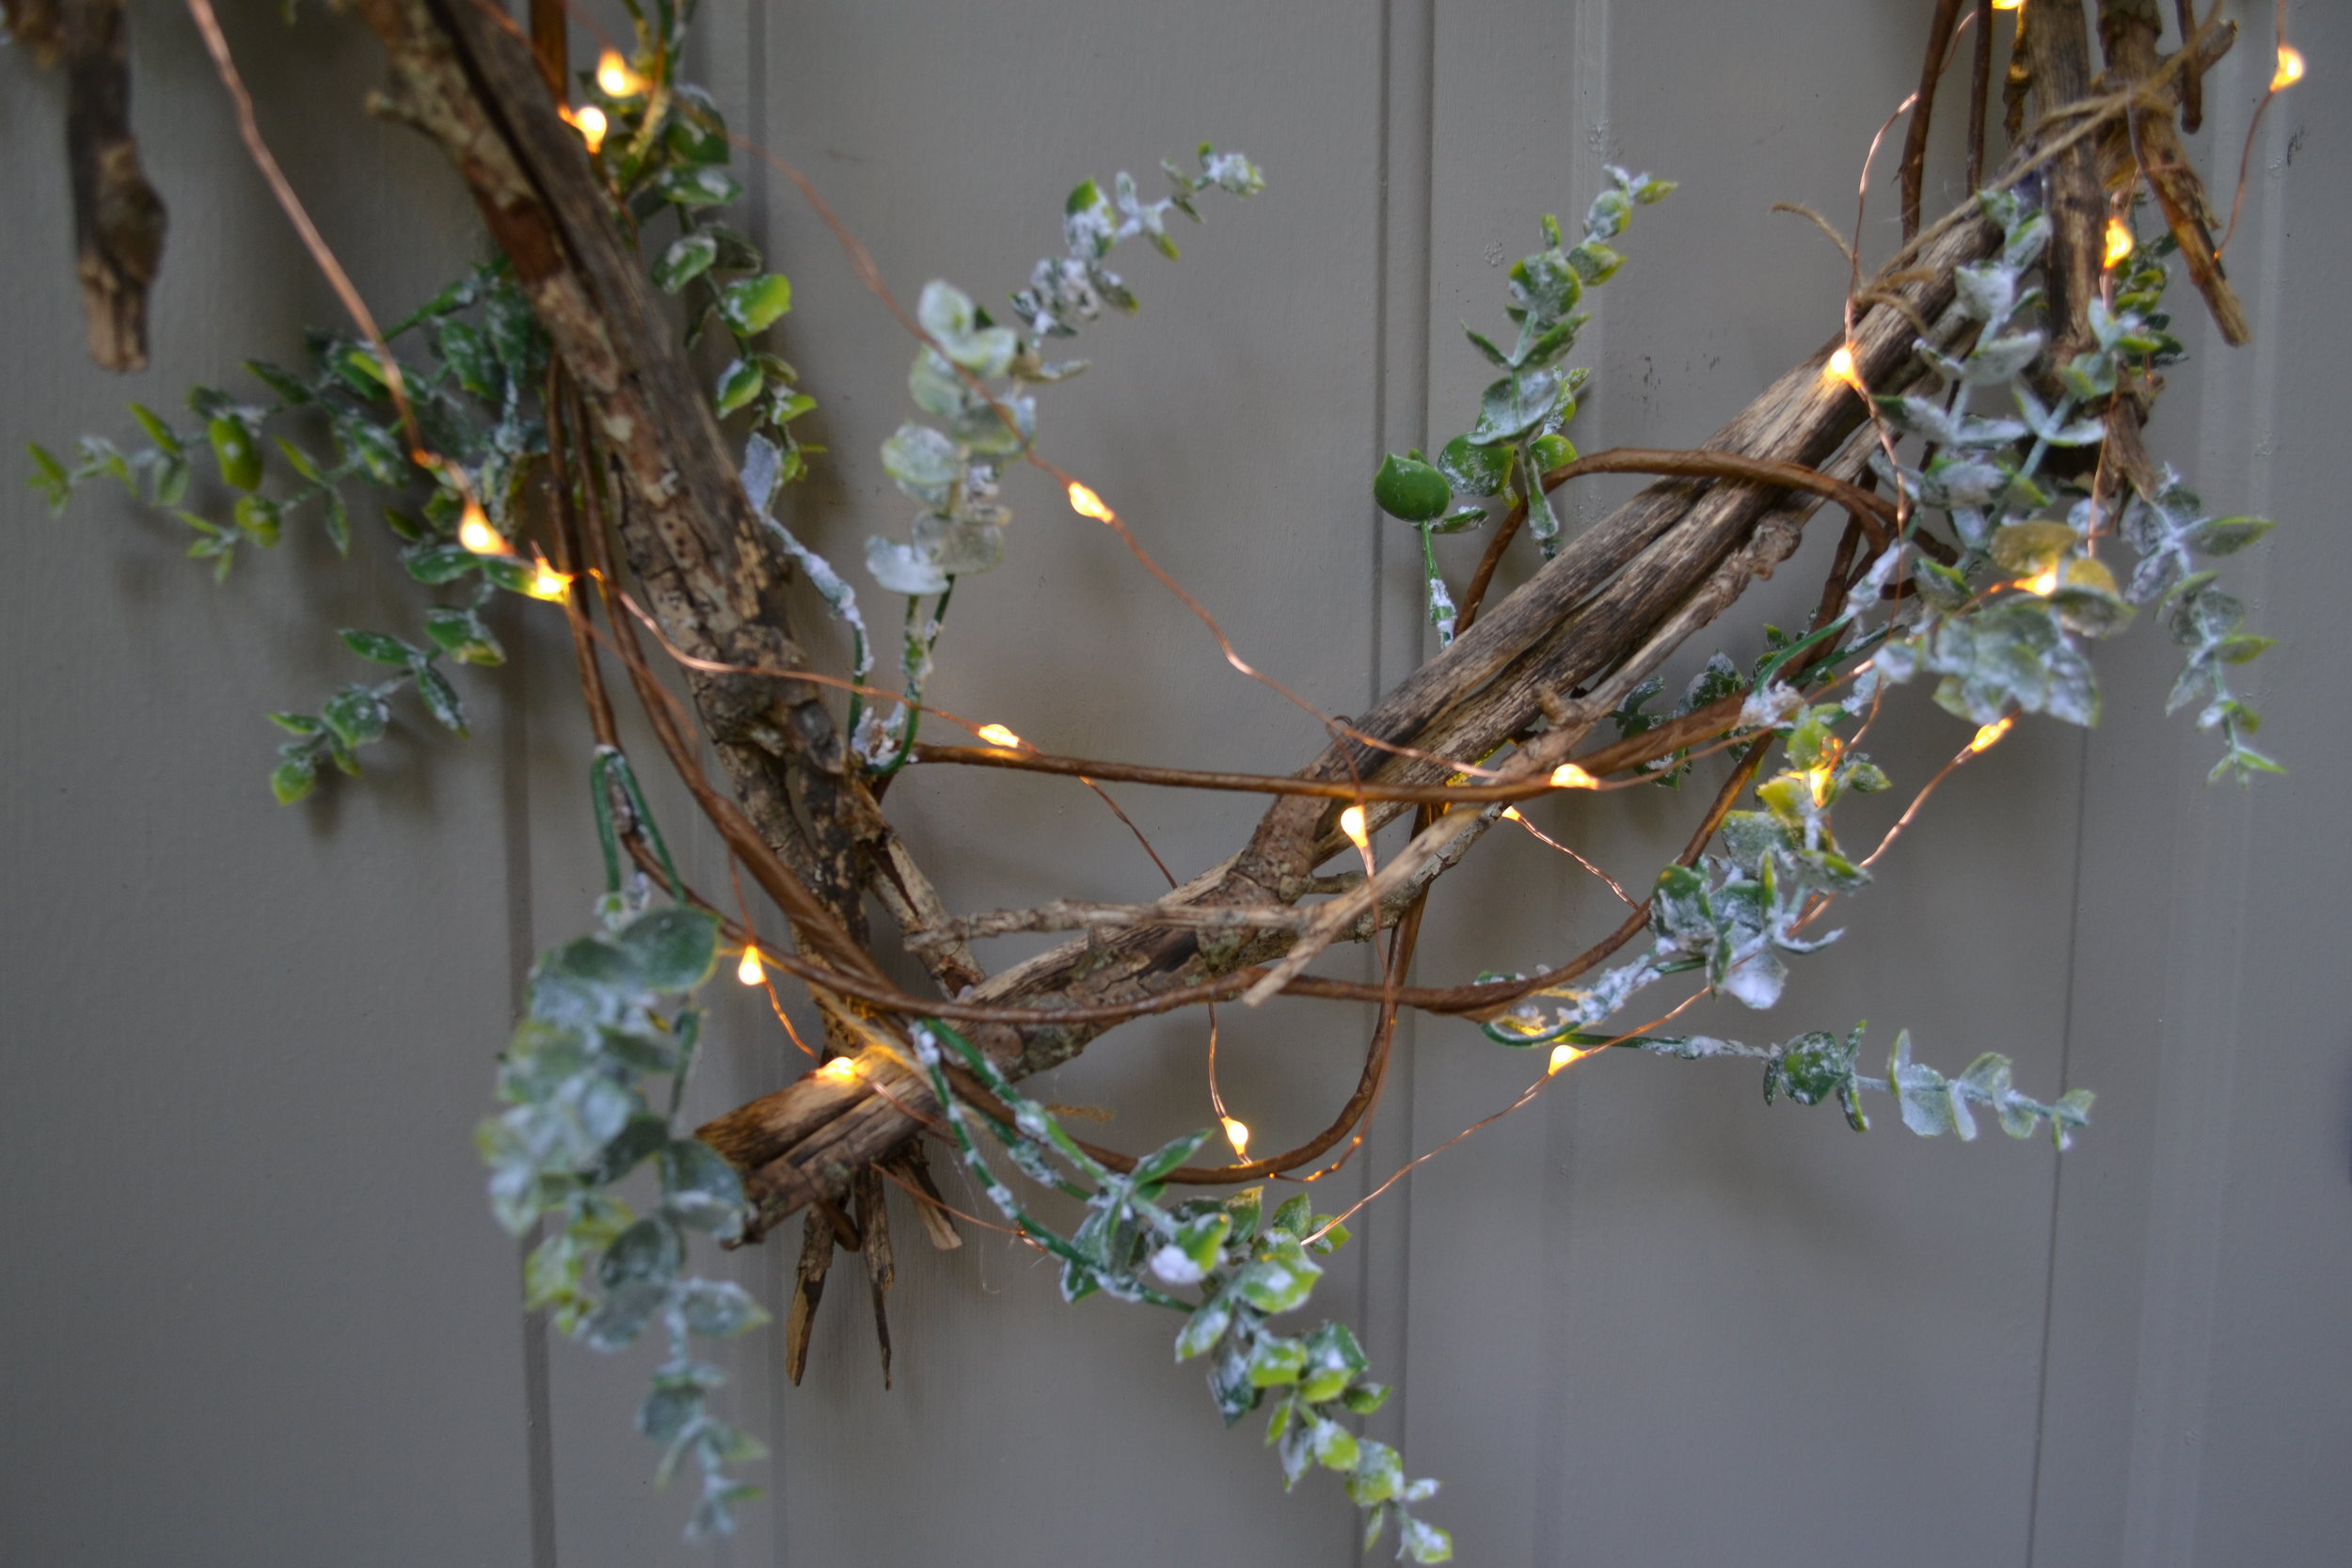
- Begin to wrap the flocked boxwood garland around the wreath.
- Add the fairy lights - I wrapped mine around twice because the ones I have were pretty long.
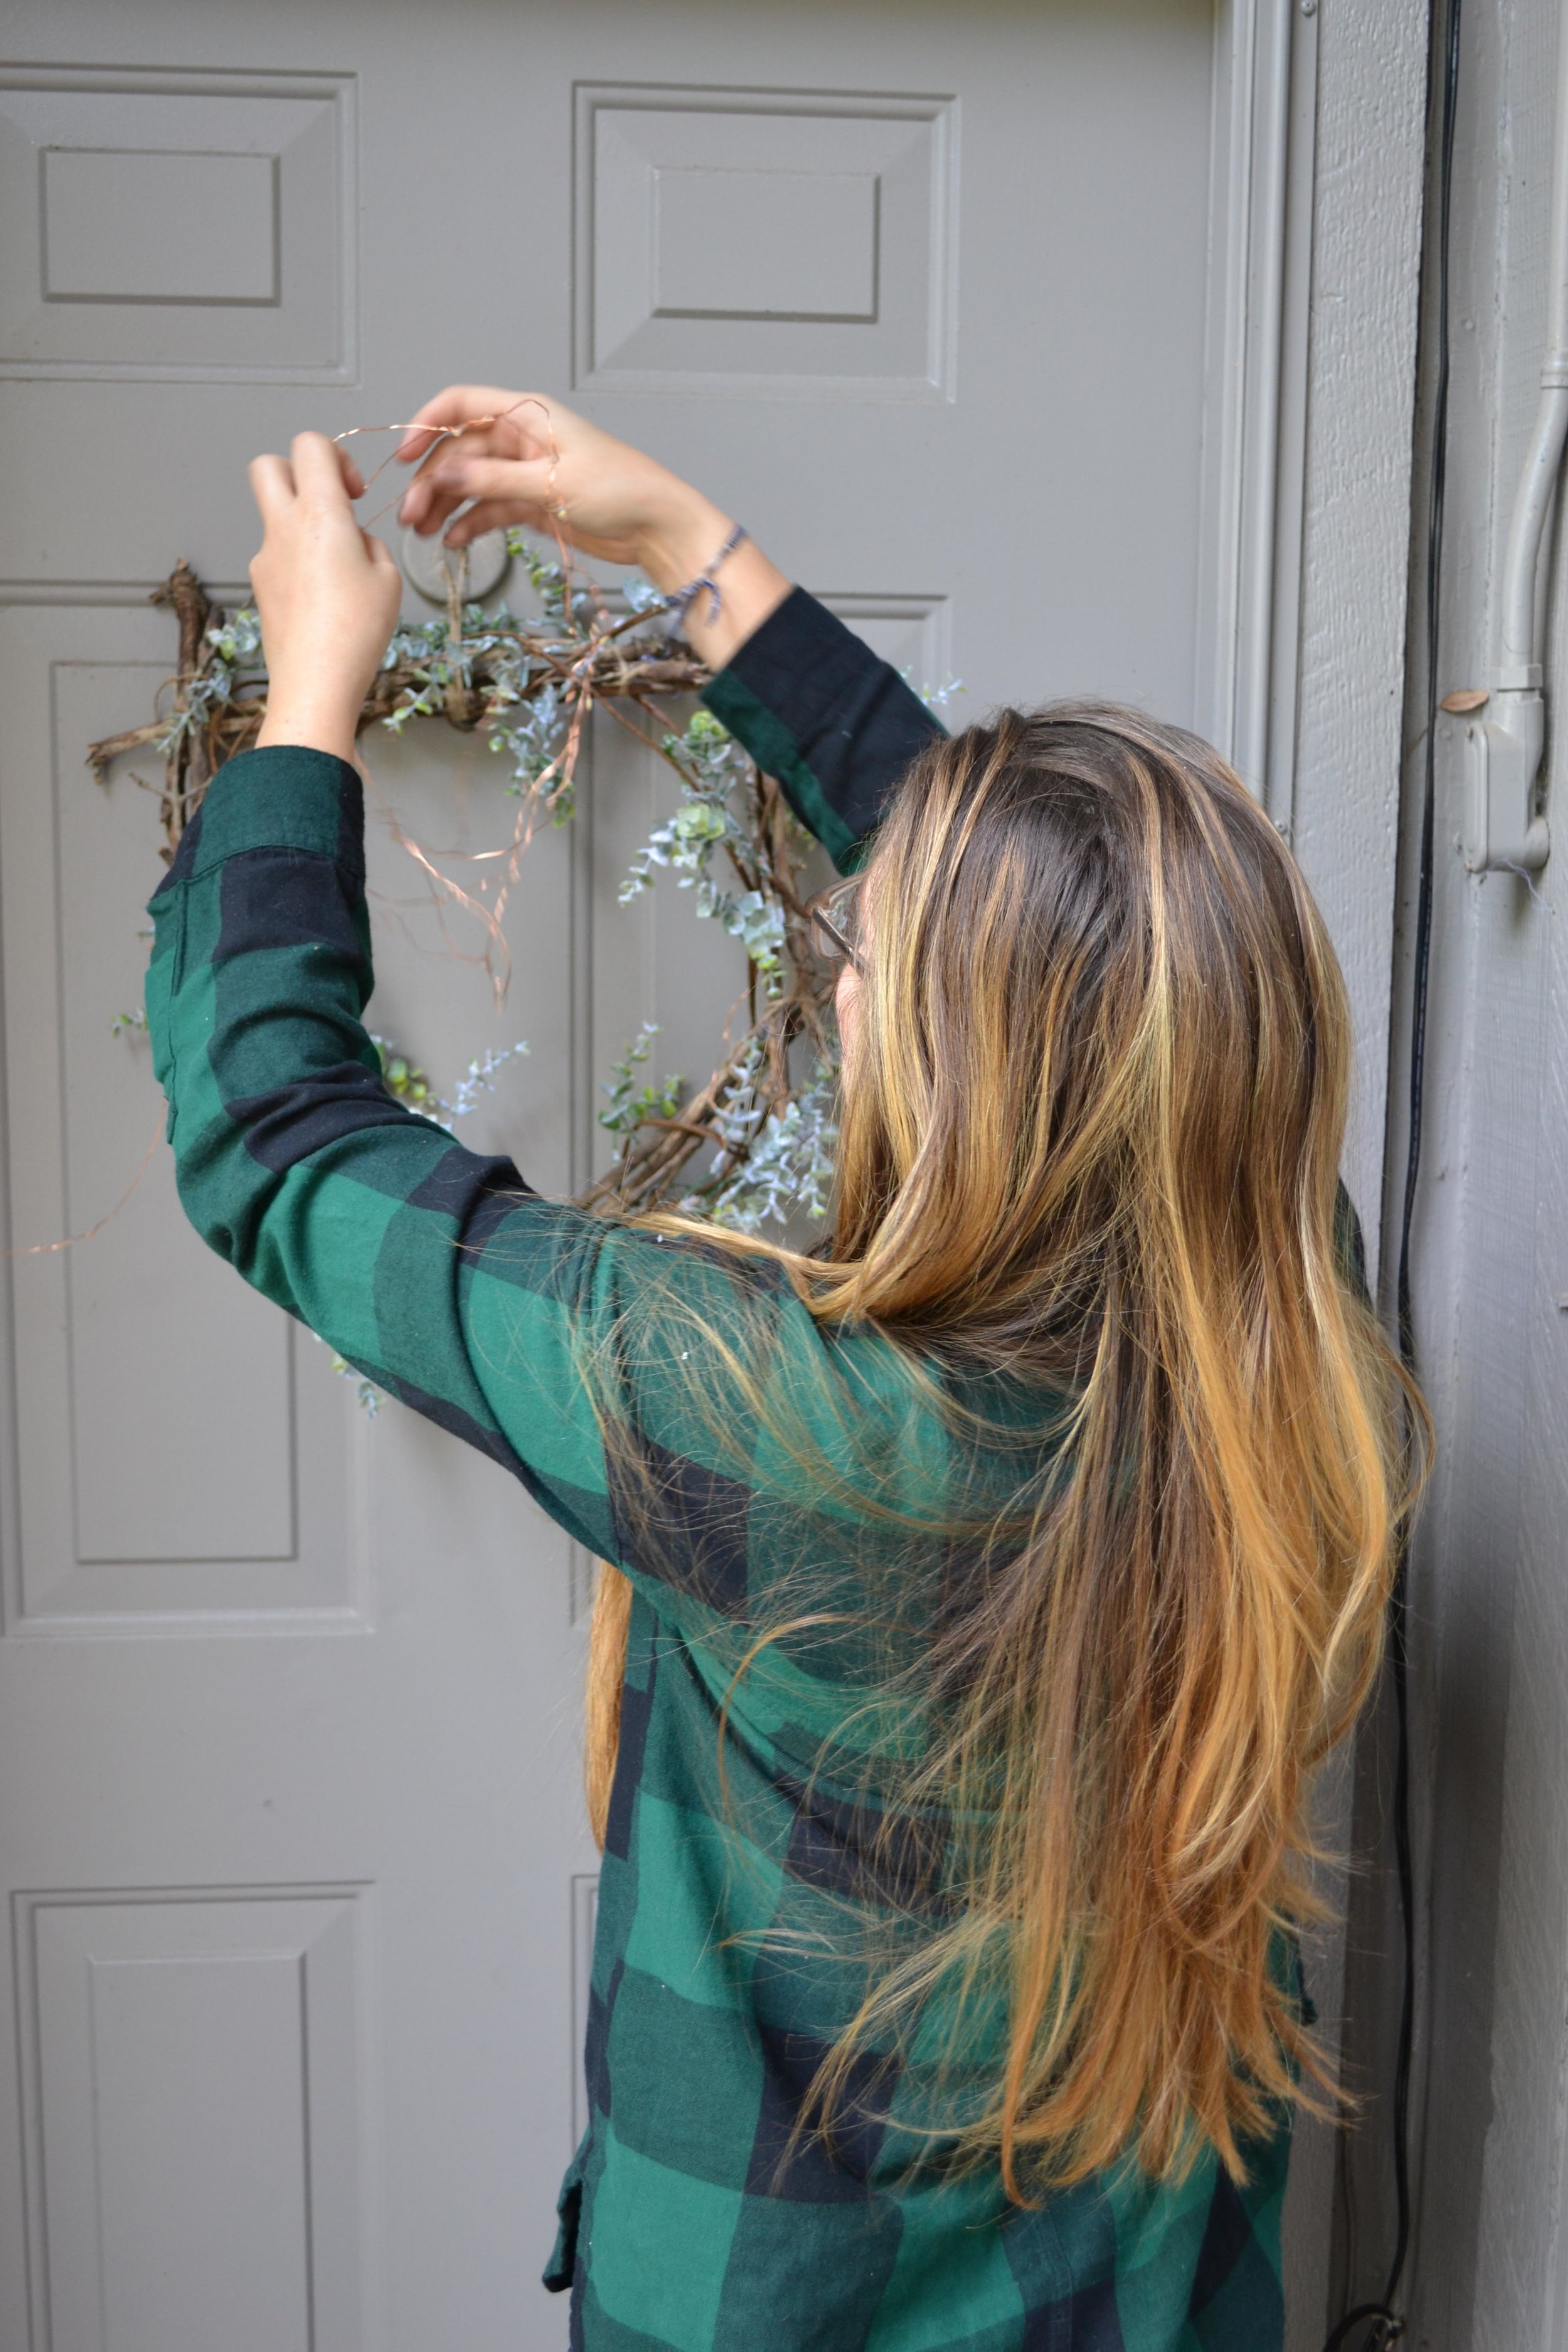
- To secure the battery box, I hot glued two magnets to the back of the pack. I have a metal door, so this worked perfectly because I can hide the box behind the wreath. If you don't have a metal door, I would suggest using some 3M poster hanging tabs.
- Hit the switch on the battery box. And,....wah-lah! You have a custom wreath that easily could've cost you $50 or more!
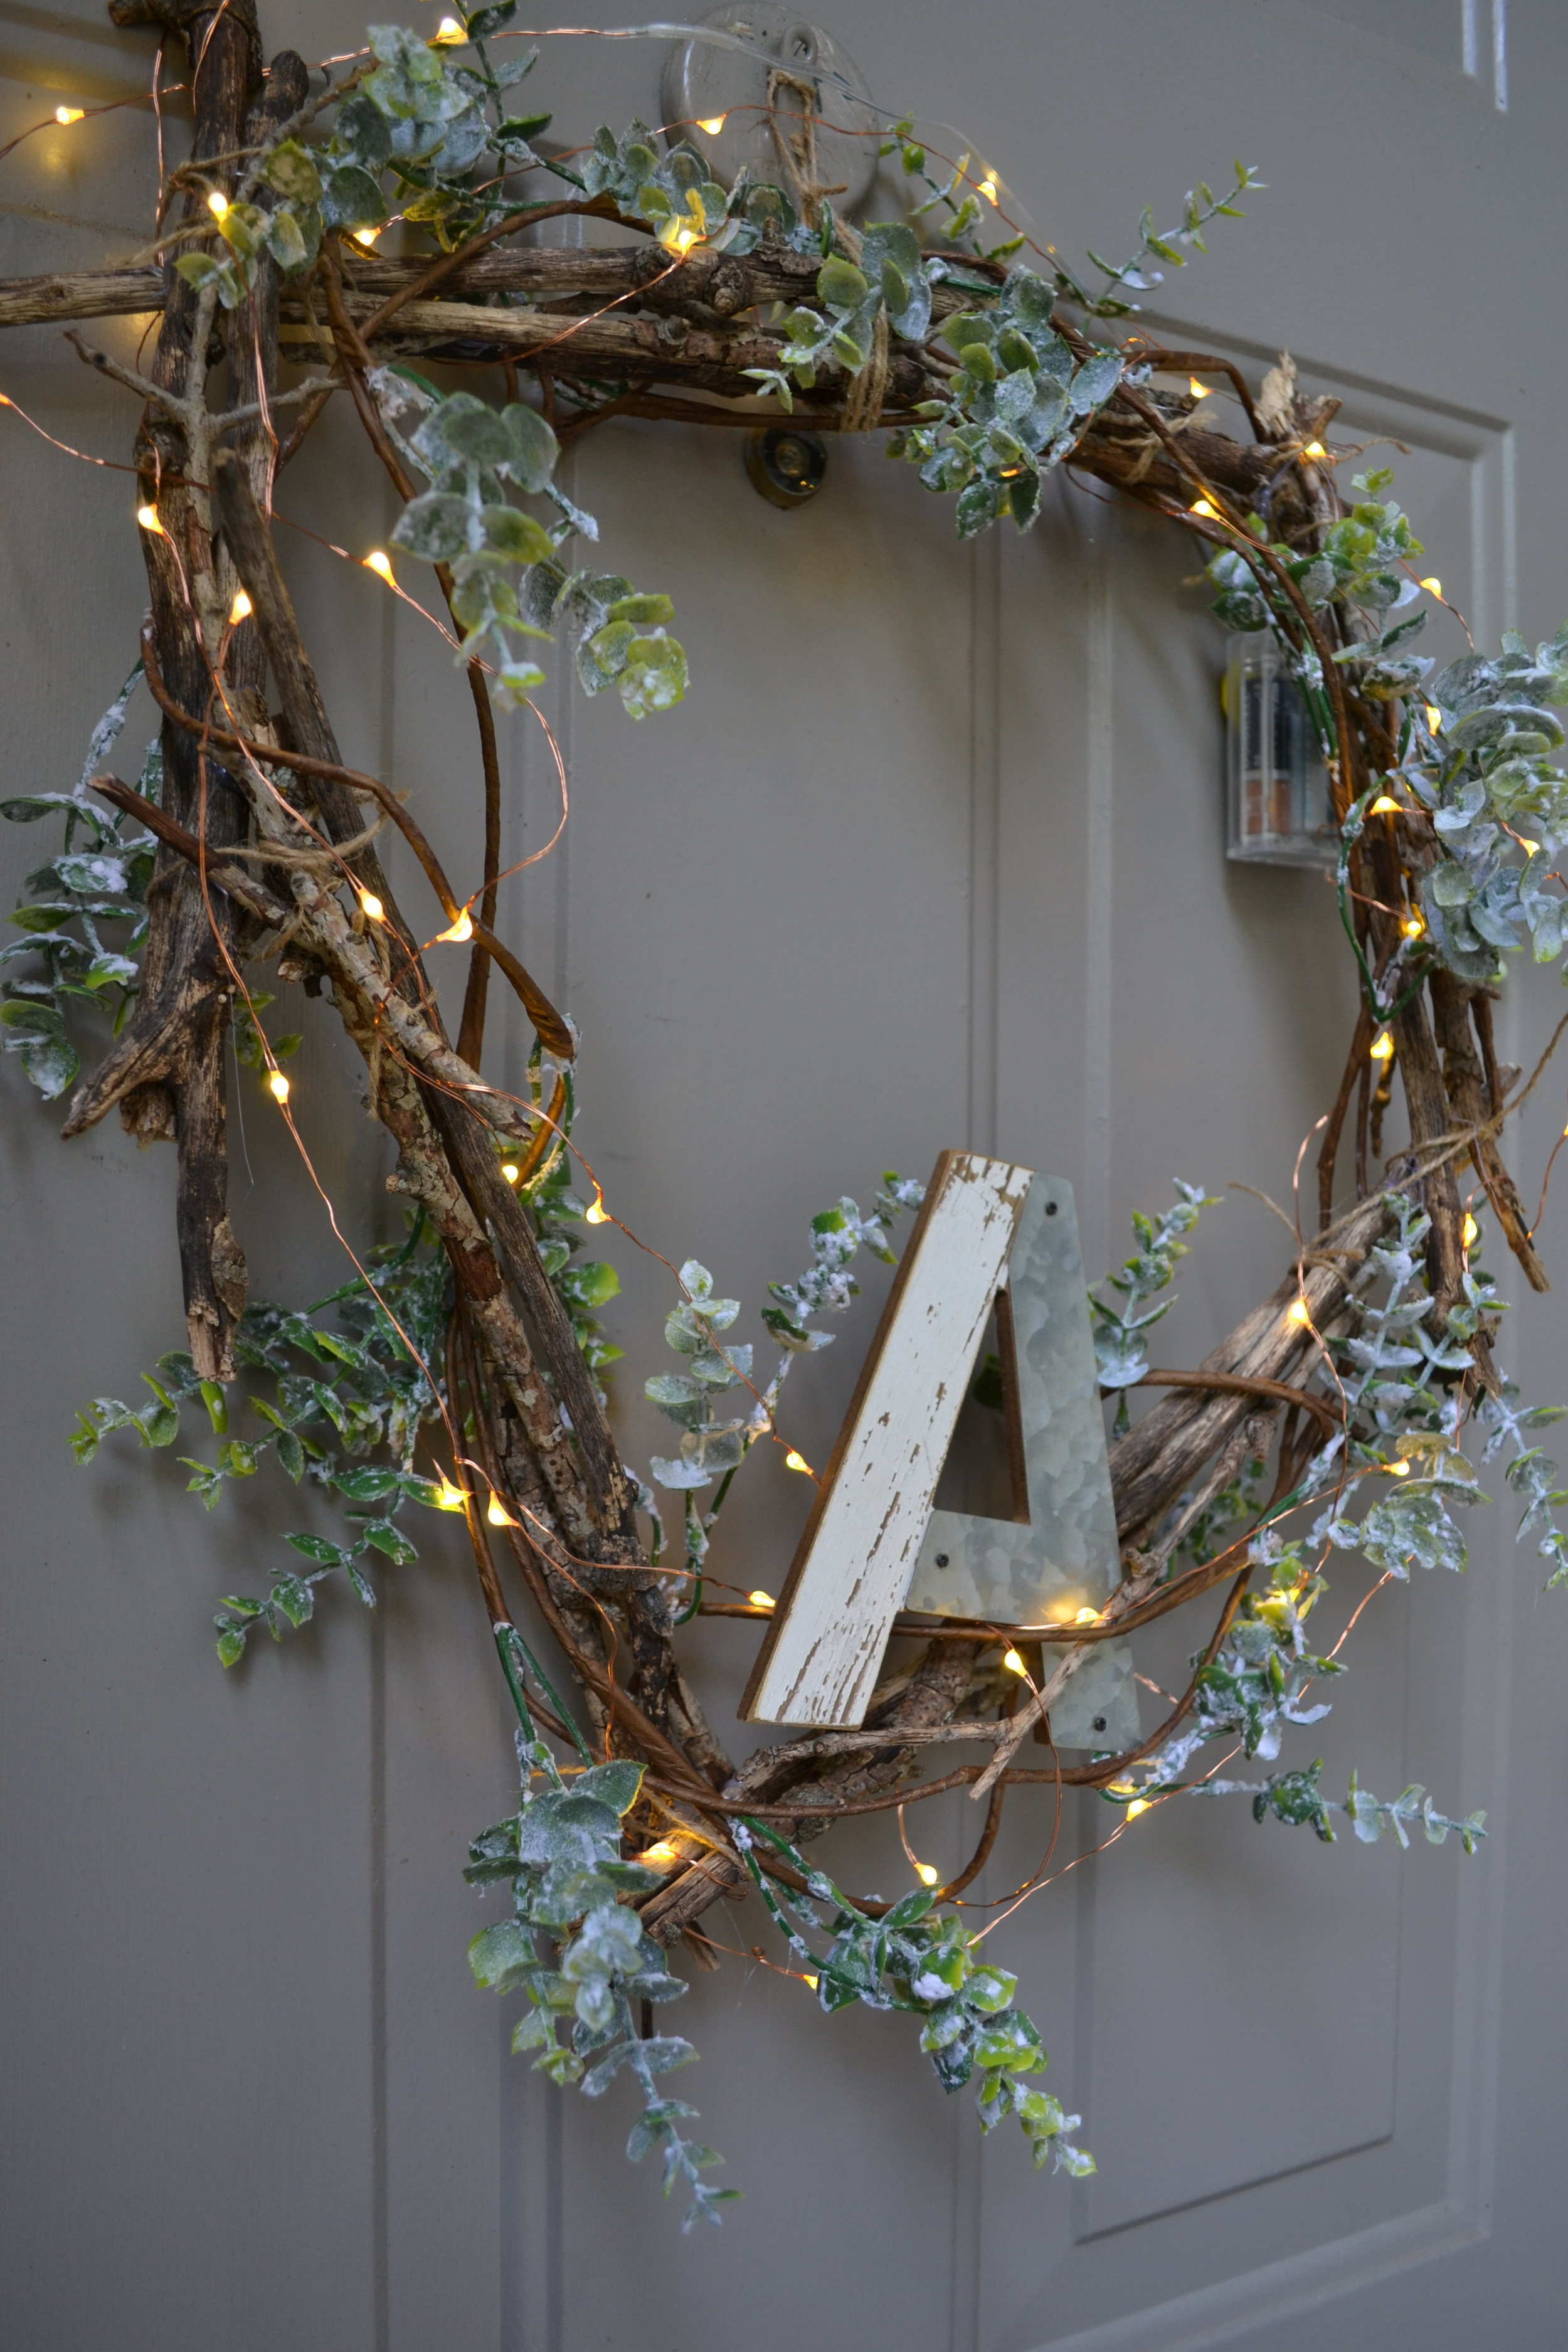
I wanted to show an additional option to add a letter - this could be your last initial or in my case part of my address.

What do you think? Did you DIY any of your christmas decor?
If you DIY this holiday wreath,
please tag me on social @thekiniofficial.
Happy Holidays!
Xo,
Kimberly